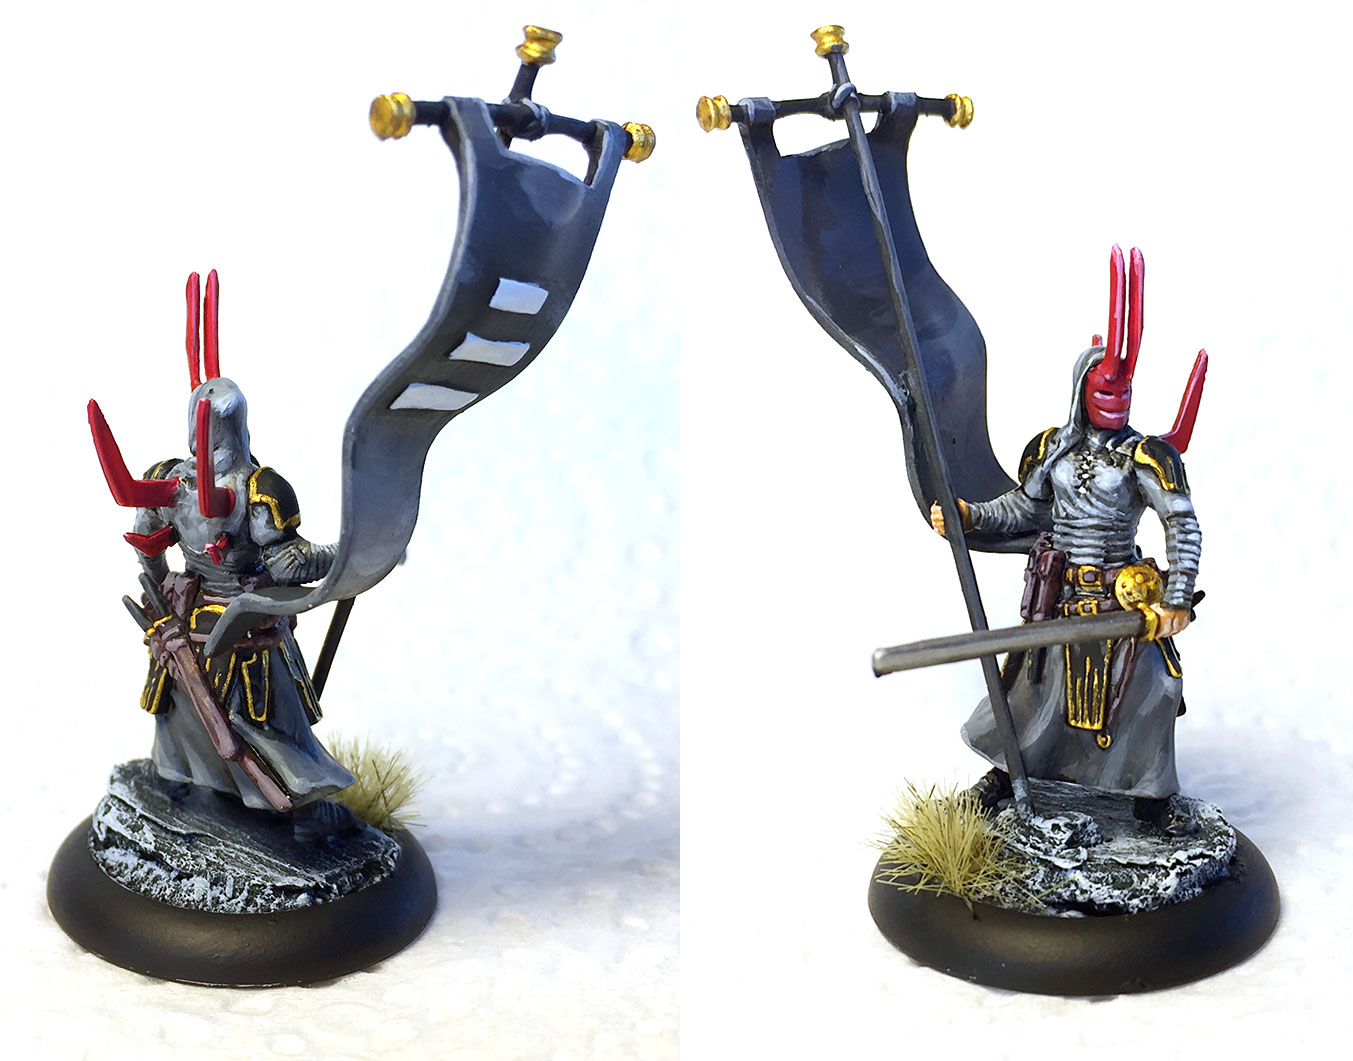
Women and children knew deep in themselves that no misfortune was too great to bear if their men were whole.
There’s a lot of disassembled plastic people in your possession if you backed Wrath of Kings. Here’s how to put them together and base them.
So, you’ve finally received your Wrath of Kings box of goodies, you’ve checked out the hundreds of baggies full of bits of plastic, and now you’re thinking, whew, what do I do know? Never fear, the EOG is here, with this handy visual guide to prepping and basing your miniatures. Put on a good audiobook or some music, because it’s going to be somewhat of a long haul building ’em all …
… or, do as I’m doing, find a friend who also backed the game, and decide on a faction each to build and paint. That way you won’t be confronted with quite such a mammoth task all in one go, and you’ll have two painted factions ready to slug it out on the tabletop in no time.
No remember, this is just how I’m doing my bases. There are many different methods and approaches, and no right or wrong way to do things; though whatever you choose to do you may find some useful tips below.
Let’s get started!
First, get organised. I found it useful to actually write on the bags what figure was what, but in in any case organise your figures so you can identify them by comparing the components to the illustrations on the unit cards or box backs.
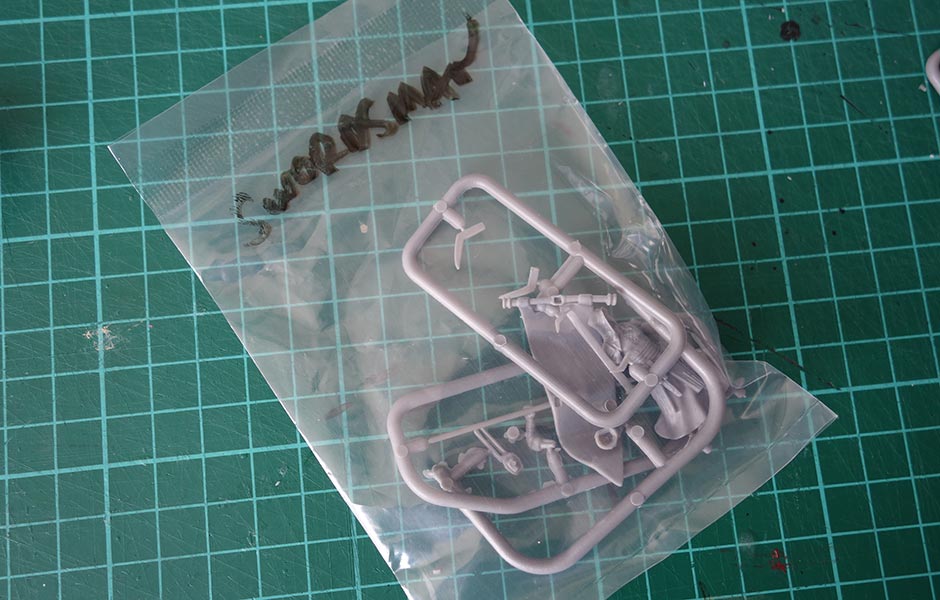
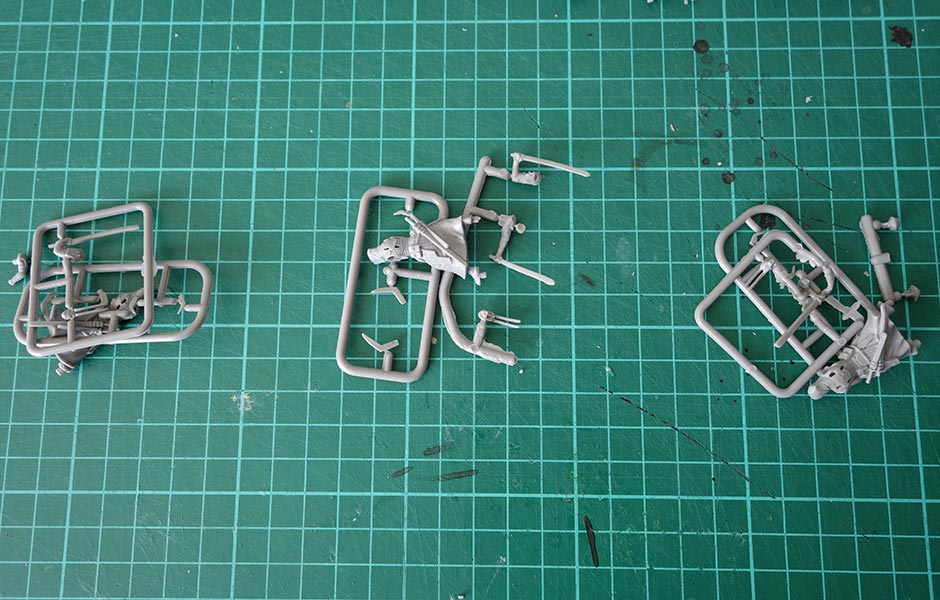
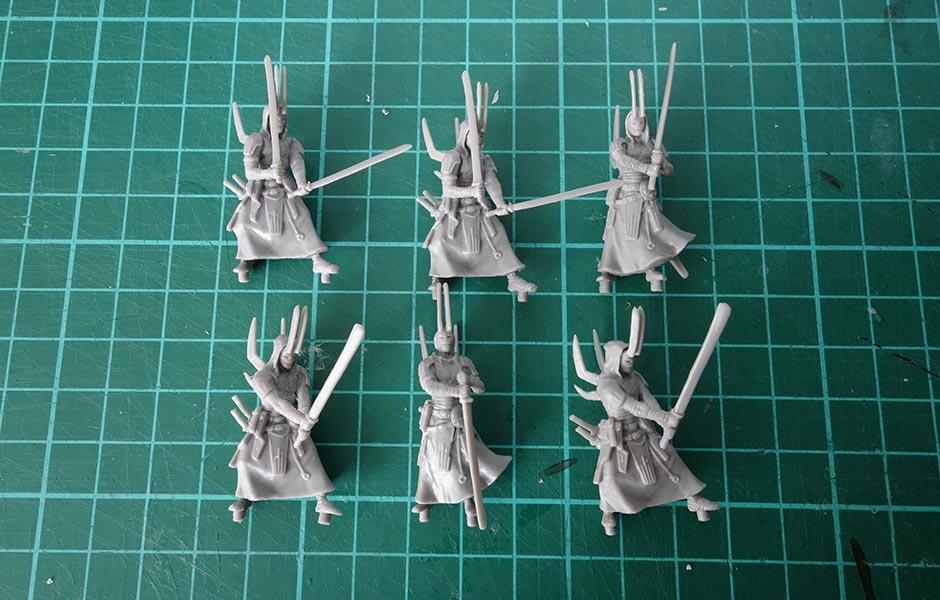
Here I’ve decided to build three at a time. So in this case I would be completing the construction steps for all these three figures. You can of course build one at a time if you prefer, or all of one type at a time if you prefer (though that may get a big confusing if you’re doing twelve of one type at a time!)
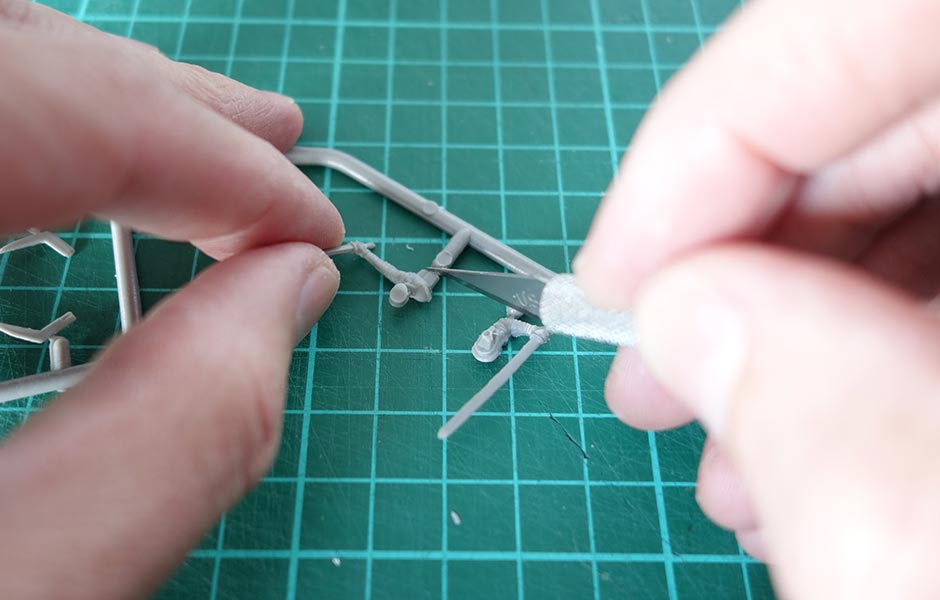
Put a fresh scalpel blade in your scalpel holder (as always, watch those fingers), and carefully cut the pieces from the sprues. Also cut off any plastic nubbins from the molding process. If you can prefer you can use plastic clippers, but I find this method a bit more precise.
Using your very sharp blade, carefully shave and/or scrape off any mold lines. You can do this before or after the figures are built; I prefer to do it before.
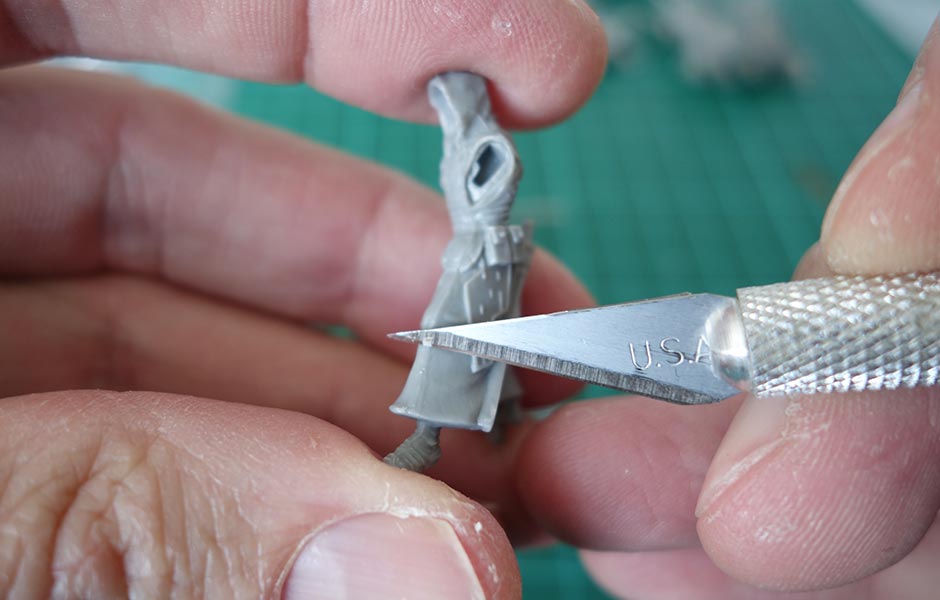
Do a ‘dry’ test fit of the pieces and make sure everything fits well. You may have to scrap off bits, or even, in extreme cases, cut off the lug; but these figures are well made and in most cases they should fit together easily. Squirt a little bit of super glue in the join…
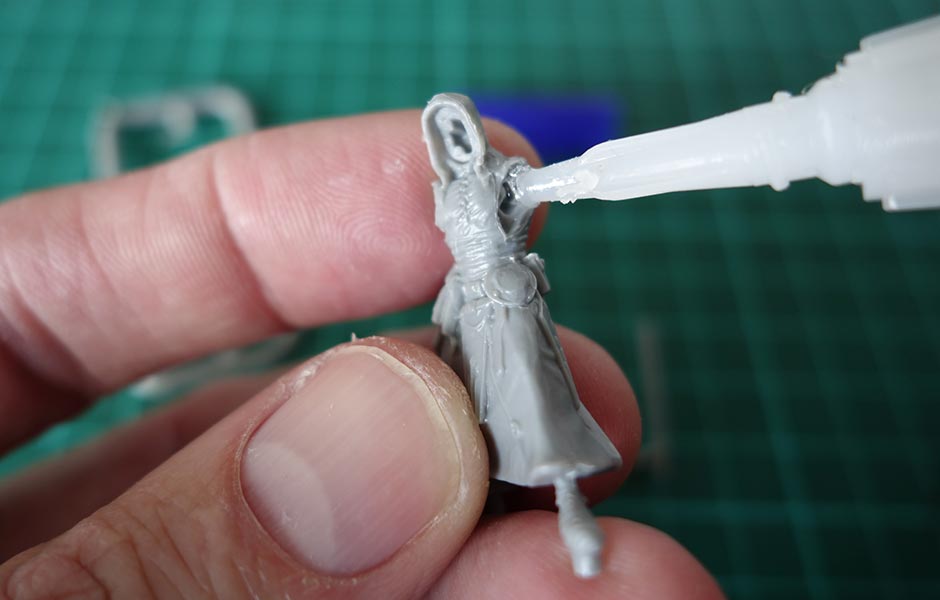
…and press the pieces together until the glue sets. Makes sure your fingers aren’t becoming a permanent part of the figure as well!
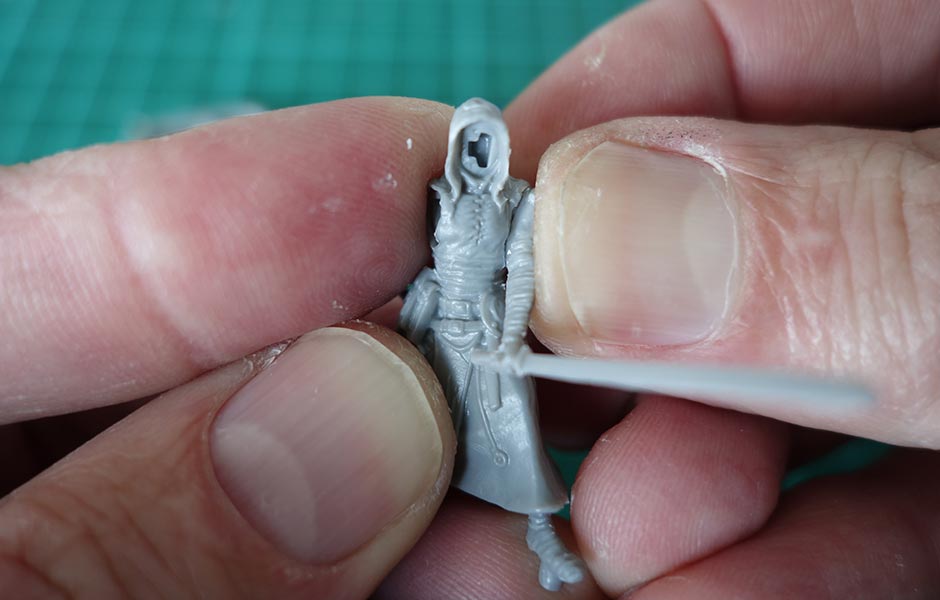
You may need to use tweezers to attach those especially fiddly bits, but make sure those tiny bits of plastic don’t go flying off into the carpet to be lost forever.
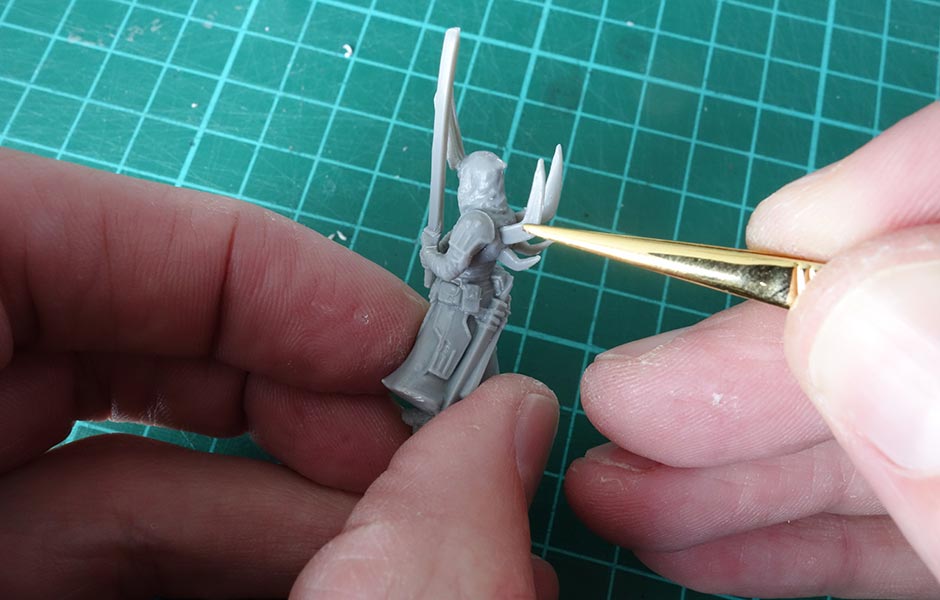
Before long, you’ll have a bunch of assembled figure ready for basing. Now at this stage—after they’re completely dry of course—you can give them a wash in water and a bit of detergent, to clean off any residue left over from the casting process. See my miniature painting videos for more details. Some people say this step isn’t necessary, but I have come across figures that definitely have a residue that impedes the adhesion of paint, so I’m in the habit of washing all my plastic miniatures.
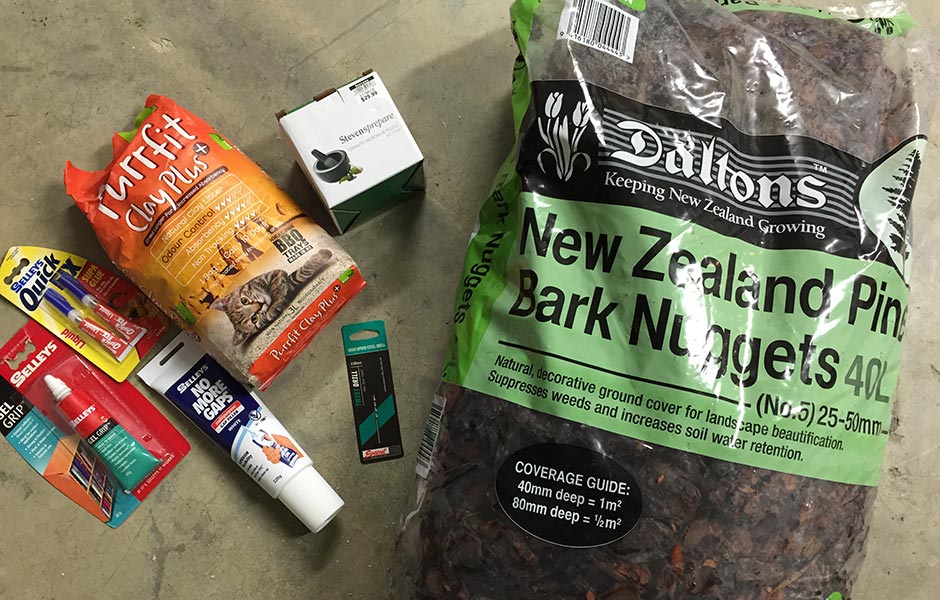
Now it’s time for a trip to the hardware store to pick up a few things. A bag of bark (though I had a facepalm moment when I later realised out backyard flowerbeds are full of exactly this type of bark). A small mortar and pestle to ground up some clay kitty litter. A 2mm drill bit. More super glue. Gap filler. And some gel glue that I haven’t ended up using yet.
Ground up kitty litter is great for basing, because you get a range of irregular sizes from fine sand to rocks. You can choose the effect you like.
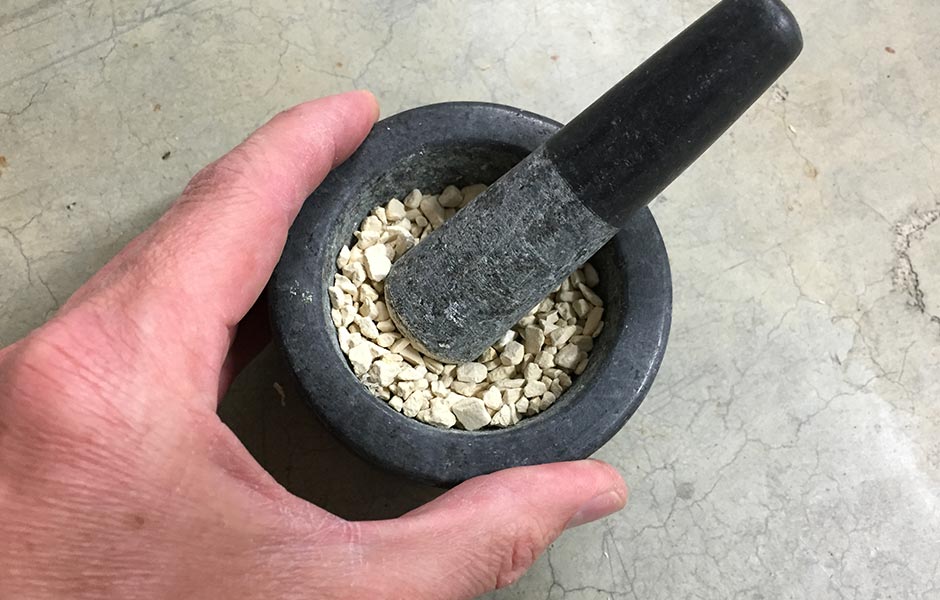
Notice the range of grit!
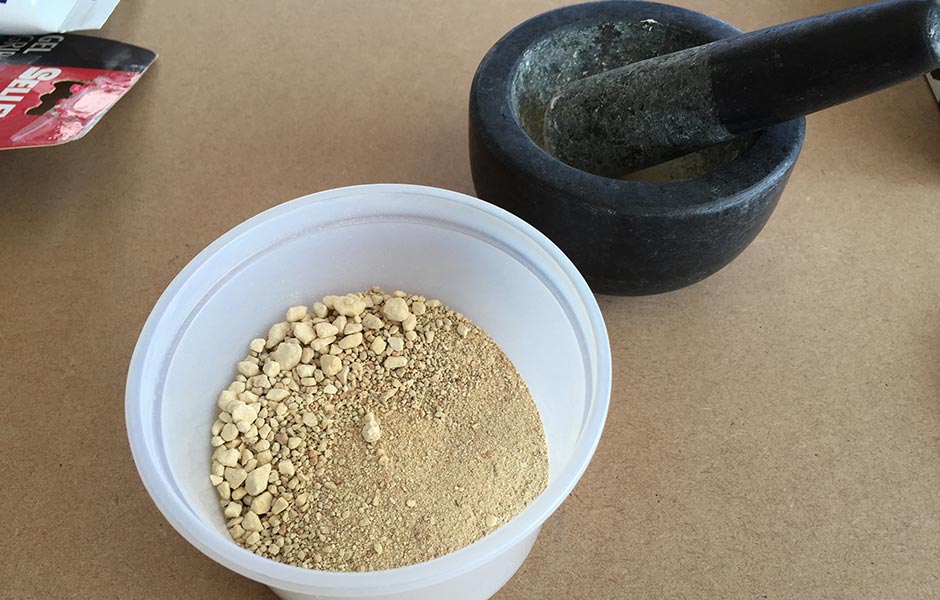
In some most cases—especially for rank-and-file miniatures—I’ll just have a plain textured effect on the base. But for many of the ‘special’ figures I’d like something a bit more dramatic. Hence the bark.
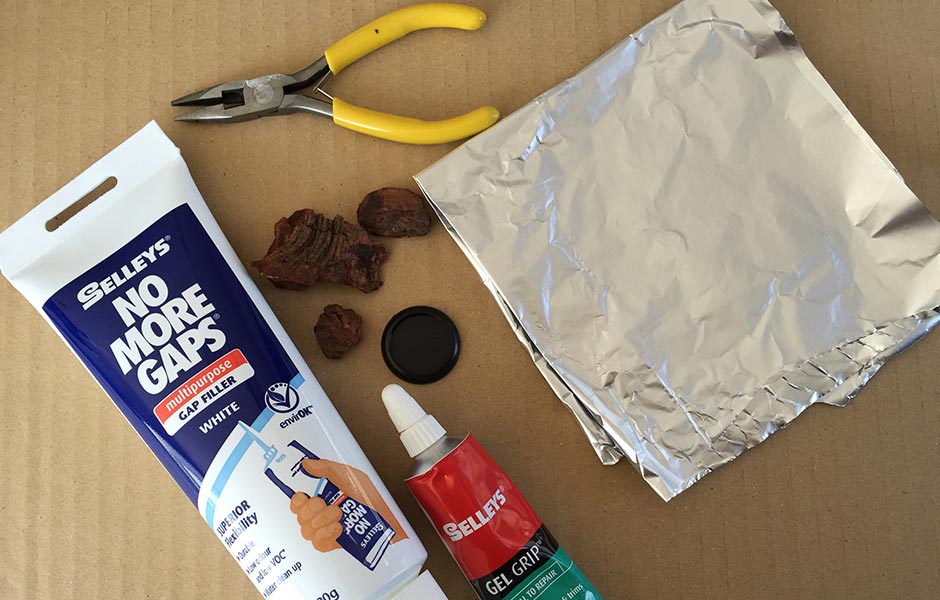
You can use a pair of small pliers to pull off bits of bark and roughly shape them. If a piece is too high, use a large craft knife to carefully cut it down to size.

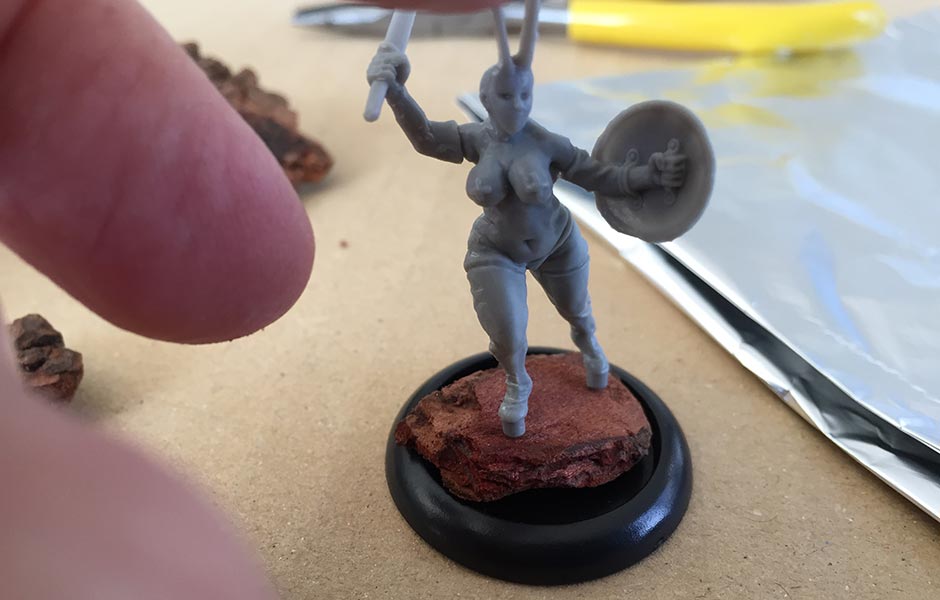
While, you’re working, keep experimenting with how the bark looks in proportion to the figure. You don’t want it to dominate the miniature too much.
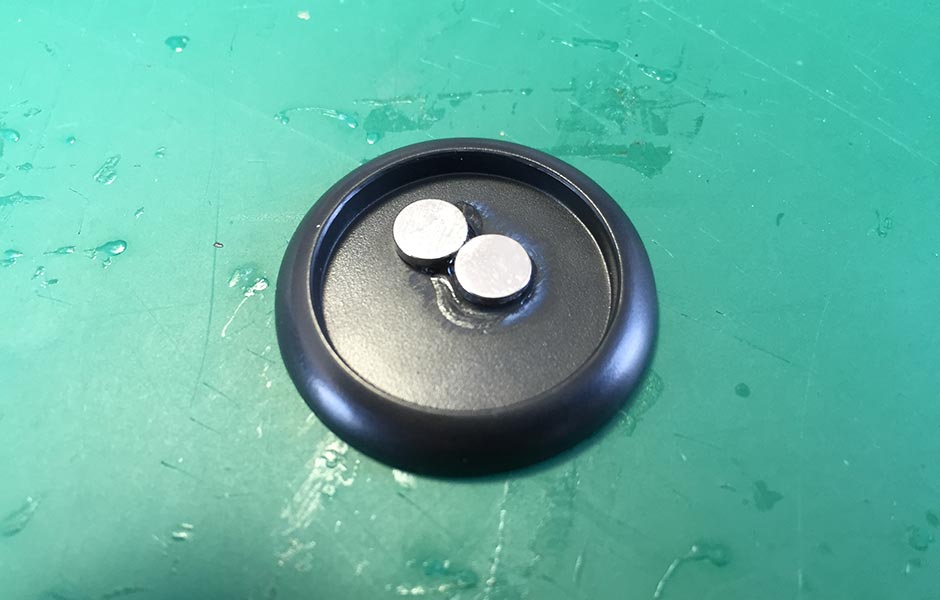
Now let’s fill our base. I like storing my miniatures in a metal toolbox, so I’m super gluing a couple of 6×1.5mm rare earth magnets in the base. I’m still experimenting with exactly the right level of ‘pull’, and have ordered some larger 10x2mm magnets to use one per base. I later discovered these are too strong and my figures were pushing away from each other when they were base to base, so I’m still trying to find the right size!
Time to entomb those magnets in gap filler for evermore! Carefully squeeze in some gapfiller…
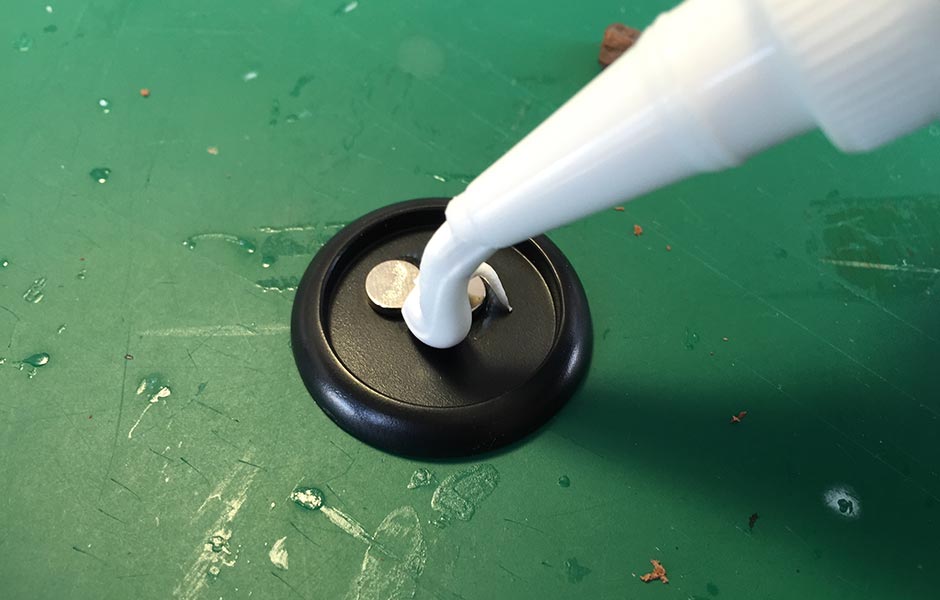
And use a finger dipped in water to smooth it out. Use just a bit more than you think you need, because gap filler shrinks a bit when it dries.
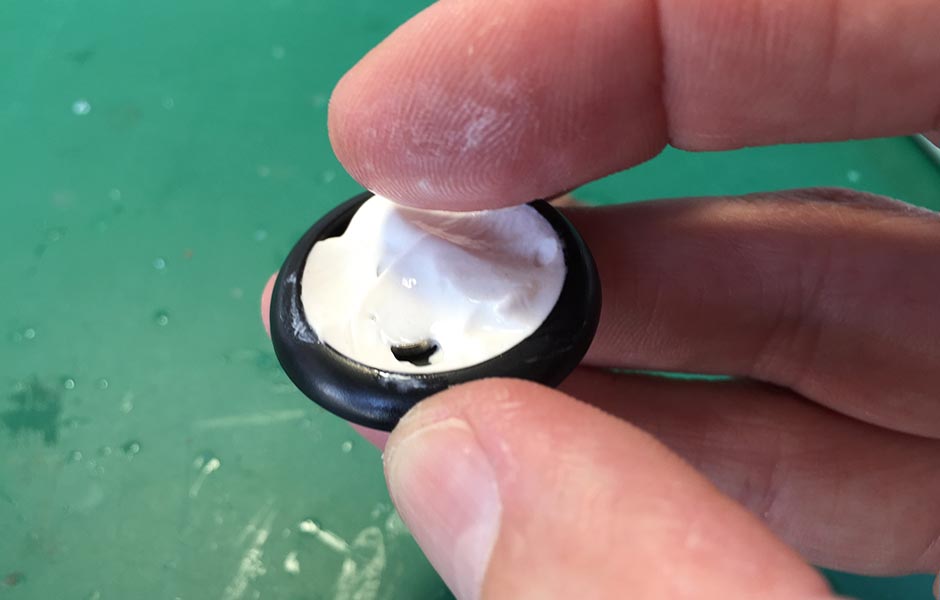
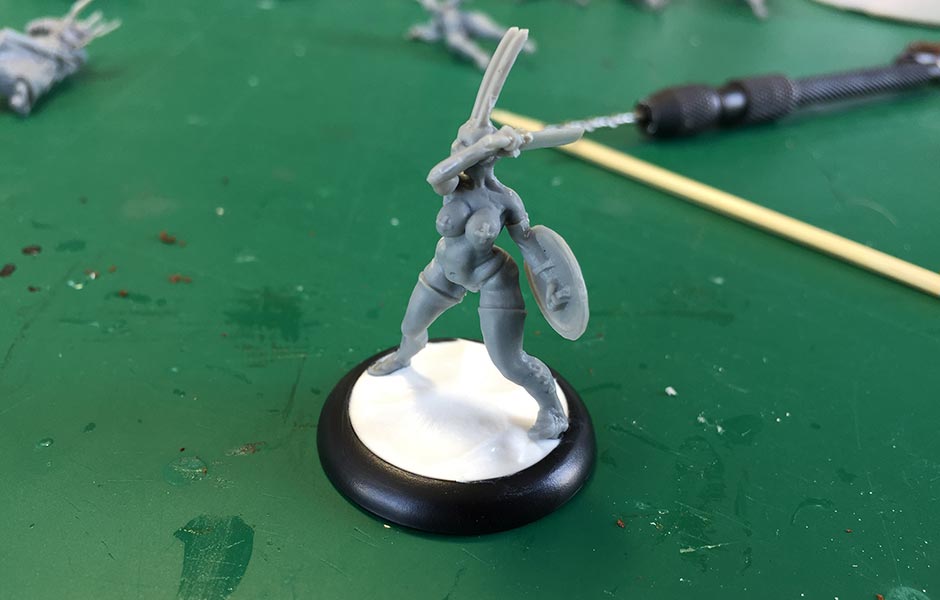
As I mentioned, for the basic figures, I’ll be covering this layer of gap filler with a layer of my ground-up kitty litter. For now, I’ve stuck the figure directly into the half-dry gap filler.
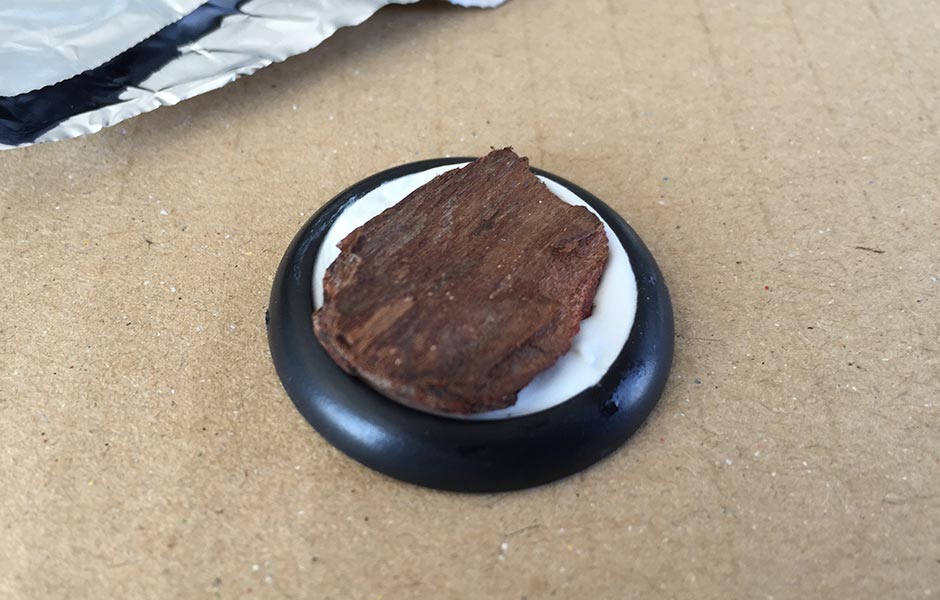
But for the more elaborate bases, I place the bit of bark on top of the gap filler. I planned to use the gel glue to attach the bark to the dry filler, but it seems to stick to the wet gap filler pretty well. Make sure you leave it overnight to dry though. I may have to do some tests when I get stronger magnets to ensure that this all stays together without glue; for now it seems fine.
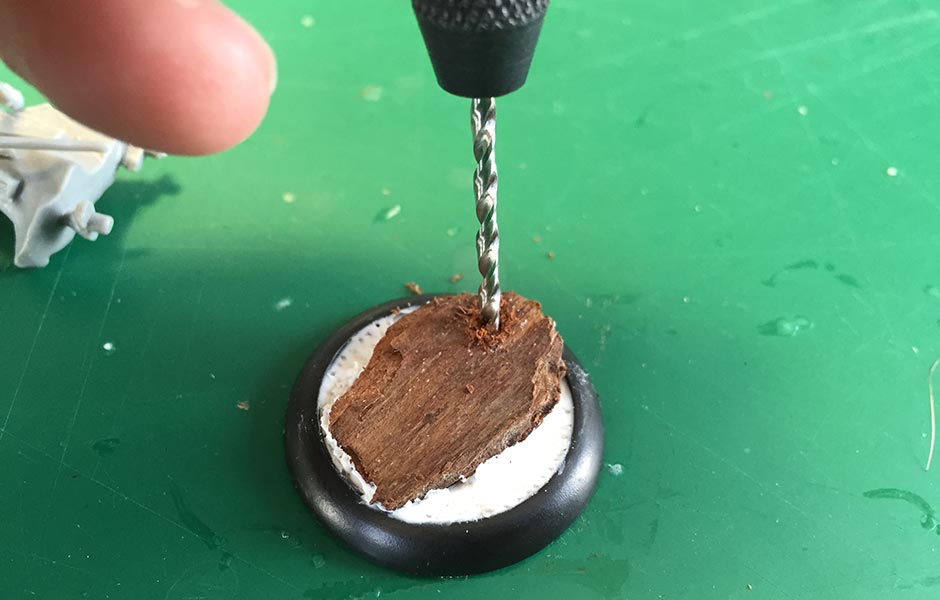
As for attaching the figure itself, carefully pose it on the bark and note where the pegs go. If you want to be more precise, you can dip the pegs in paint and stand the figure on the bark, thus leaving little paint dots where you have to drill. Use your pin vice (or pin vise of you prefer) to drill the small holes by hand.
To texture the gap filler, either on a simple base or a more elaborate one like this, paint some white glue on the gap filler with an old brush…
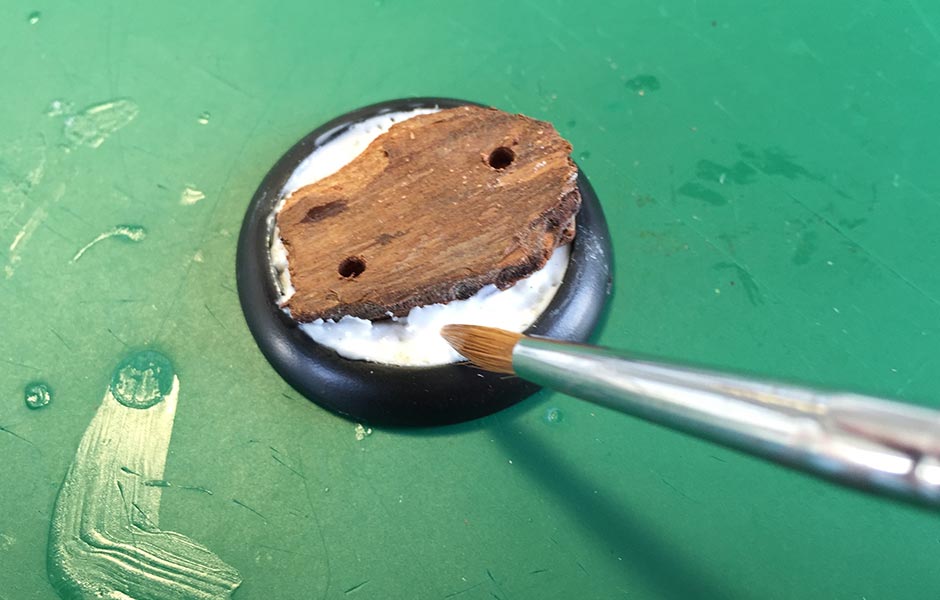
…and sprinkle your ground-up clay litter on it to texture it. Clean off any texturing that gets on the bark/rock or the lip of the base.
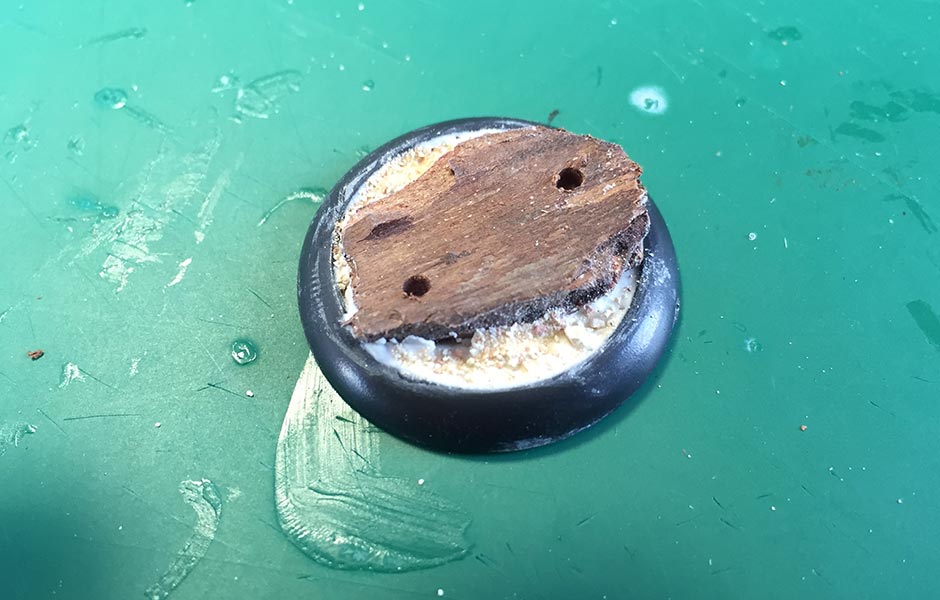
Finally, super glue your figure to the base. Voila! Your first completed miniature! Only about 219 to go!
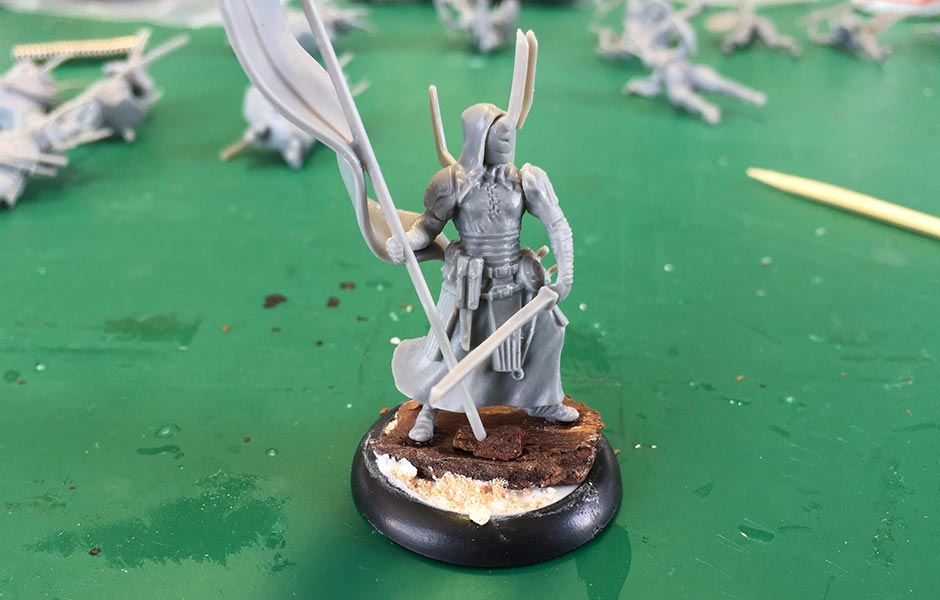
You can see the painted result at the top of this page. But for now, get building and basing, you’ve plenty of work to do and those miniatures won’t build themselves!
Thanks for such an informative and highly detailed reference. I may have to mis-appropriate a few of your tips.
Those bark rocks turned out really well – less trouble than my last effort with a bit of wine bottle cork (which is harder to find these days).
I like the idea of sticking the figures straight into half dry gap filler. Anything to cut down on drilling over 400 holes is good.
One thing to be aware of when doing a batch of WOK infantry is the different variations among the figures so dry fitting first is a wise move as some variants are subtly different.
One of the downsides of doing a big bunch of figures at once is the build up of Supa glue on your fingers which can make it hard to pick up and manipulate some of the smaller parts.
I’m doing the Nasier in the moment, too. Saw today another bag, which waits for gluing…
.
I’m missing one of the bigger spikes on the back of the ashmen, so I take cardboard, used the other spike to cut out a new one, glued it on the bag and used 2 layers of super glue to harden the cardboard paper. I will put in the FB WoK Group later a picture.
.
The mini you used to show how to build the minis together + one other were the onle ones making problem to put the small spike in the back, because of the position of the sword handles. I used tweezers only once, but I think they could have been helpful, too. 🙂
.
I had also some female minis with problems putting the parts in the holes, but removing 2/3 of the lug, helped very much. 2 minis had so small arms, that they got all but the last one a crack, but it holds and so I have few more minis with different positions… 🙂
.
I use also magnets to store my stuff. I think I would drill holes and use only one magnet. The magnets could clued in the filler.
.
I got cork plates which I will use to make rocks, but I heard that bark would work, too. And now I saw how it look like, thanks.
I plan to make lava around the rocks.
Well folks, don’t use 10x2mm magnets. I soon discovered they are too strong for use in bases, as the figures are pushing away from each other when they get base to base. bit of a hard lesson, but then after decades I’m still making mistakes!
Make sure you use bark, not woodchips. In a misbegotten time-and-money-saving exercise I raided a neighbour’s garden bed (with his permission) for what I thought was bark. It turned out to be red gum, chips, which give a pretty convincing sedimentary rock effect, but it’s utterly impossible to cut them or mangle the edges with pliers.
Endless traps for the unwary!
Where do you get those little bright-green weeds for decorating the bases from by the way?
They’re called tufts, and you can get them in all kinds of styles (I think I’m using the highland ones at the moment; they’re actually quite dull in colour to go with the ash grey texture). Use tweezers to pull one off the sticky base, and press it down on a bit of white glue.