Mayday, mayday. Can anyone here me? Over. This is U.S. Station 31. Do you read me?
Safely packing away your miniatures and components after a game of Deadzone.
After you’ve spent countless hours painting your miniatures, it’s important to come up with a storage system that keeps them in good condition, and not rubbing against each other or any other surface. In the last couple of years I’ve been attaching magnets to the bases and storing miniatures in a metal toolbox. You can see this method in action in this video. I’ve also been experimenting with lining foamcore compartments with magnetic rubber, though keep in mind the magnetic bond isn’t as strong.
Unfortunately, Deadzone bases are an annoying custom design that has no cavity under the base. So how do you attach magnets to them? Well, I’m glad you asked.
First, drill holes in the bases of your miniatures. Since I’m using 6mm x 1.5mm rare earth magnets, I’m using a 6mm drill bit, just held in the hand (you can wrap some gaffer tape around the end to make it easier to hold). Carefully screw into the base, but make sure you’d don’t go too far and poke through it. Keep checking to see if your magnet fits until it is flush with the base.
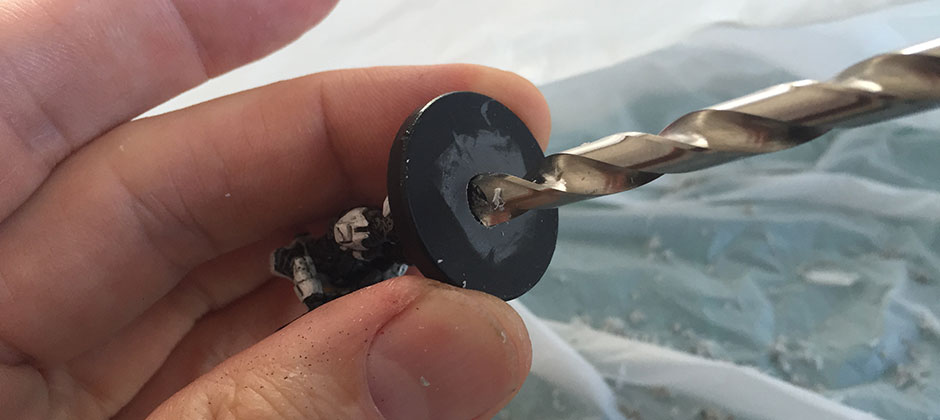
Then put a bit of super (cyanoacrylate) glue in the hole.
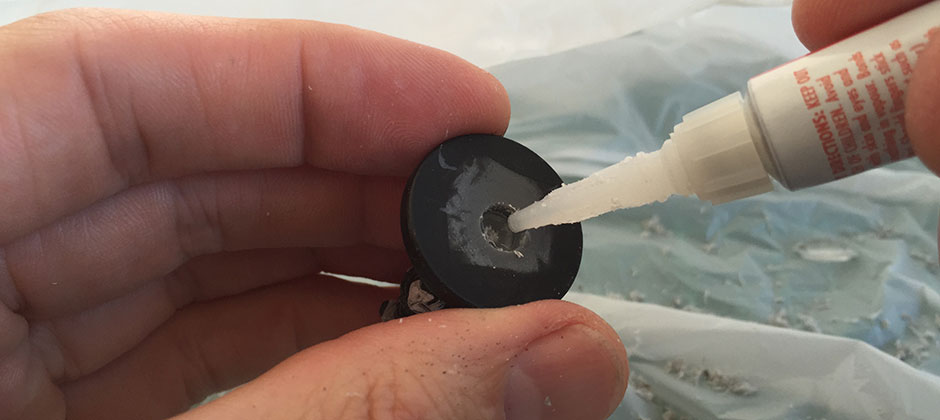
Making sure not to get glue on your fingers, place your magnet in the hole and press it into place (use the glue lid or the end of a file or a toothpick).
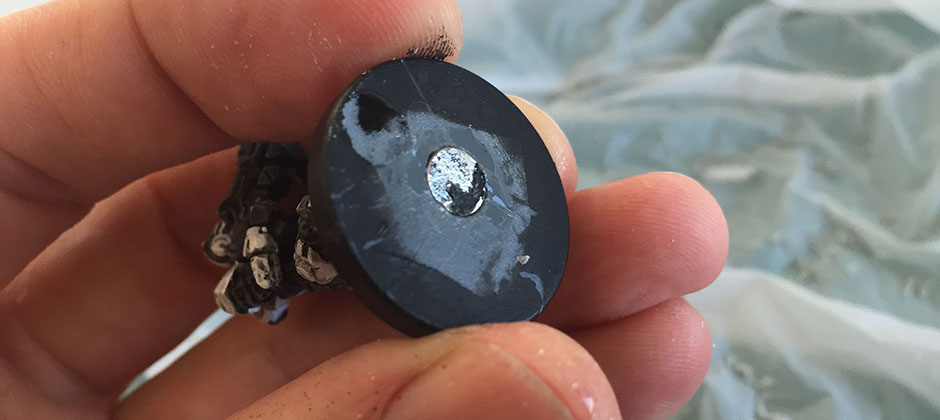
Whoops, that one fell out, got a bit of paint on it, and went back in. But you get the idea. Make sure you leave the miniature on its side to dry for a few hours, because if the glue hasn’t dried it will mark any surface the miniature is standing on. Now, cut your sheets of magnetic rubber to size and stick them on the base of your foamcore box (they are backed with sticky paper; just peel this off and stick down the rubber). As you can see, the miniatures will stick to the rubber base—you can even turn the box upside down, though this isn’t recommended!
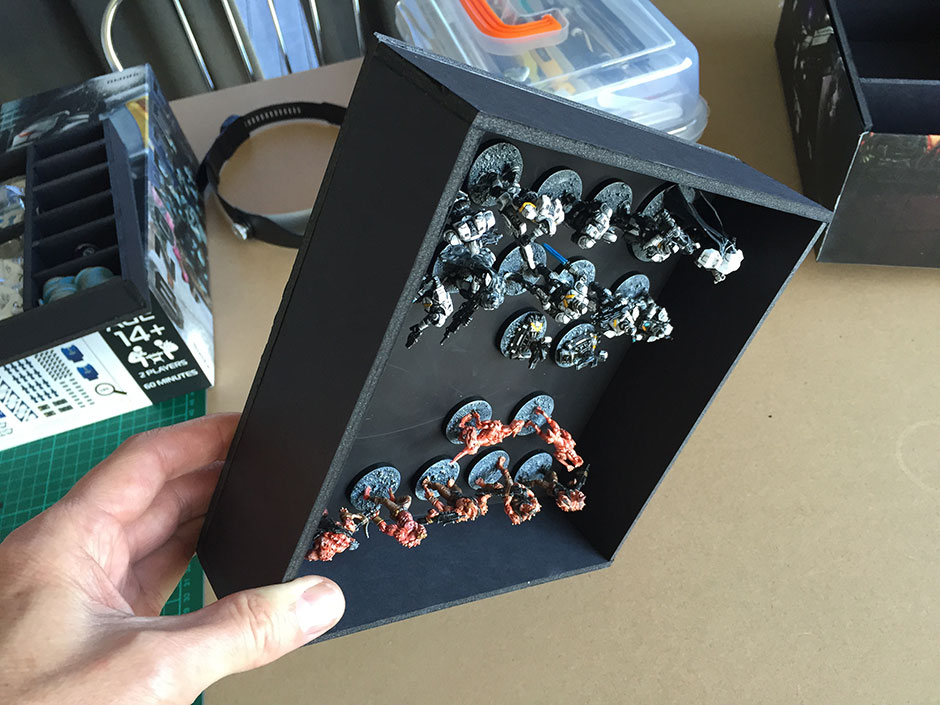
How about the rest of your Deadzone bits? Well, I’d normally supply plans for a foamcore box insert, but in this case I’m only showing you photos. Why? Well, everyone’s storage solution for this game will vary depending on how much terrain you have. Since I’ve bought a booster pack of terrain, I keep some of it in that separate box, and some pieces in the original box.
The following photos should give you some good ideas for your own design however. Most of the miniatures are in a separate compartment that can be taken out (see above), but the four largest ones are in a deeper magnetic-mat-lined area. Luckily, they have different bases that don’t require drilling, so I put two magnets on each of these for a stronger magnetic bond.
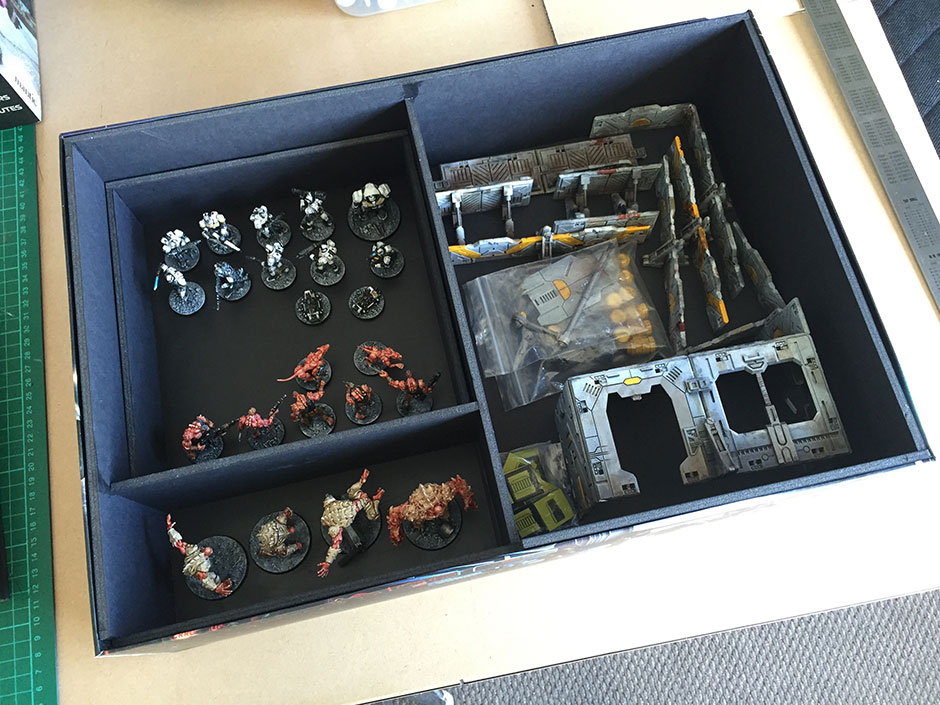
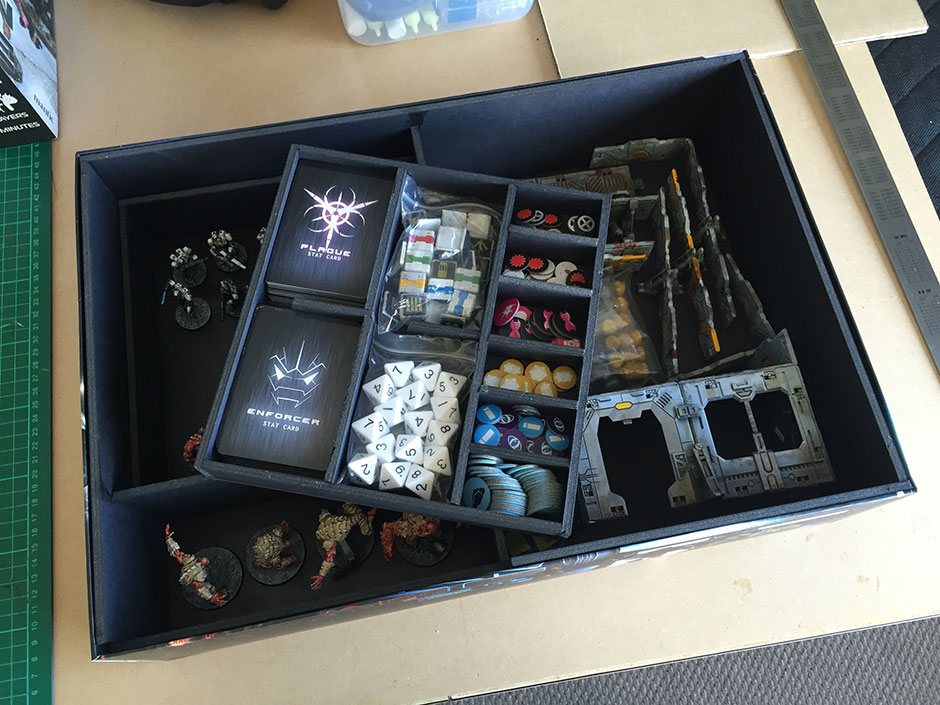
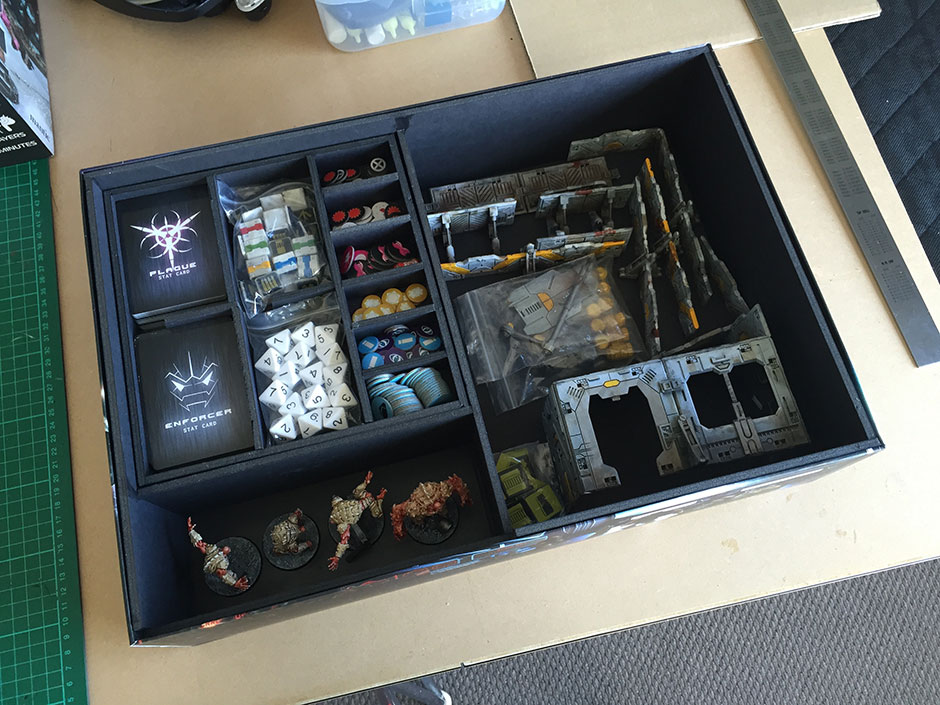
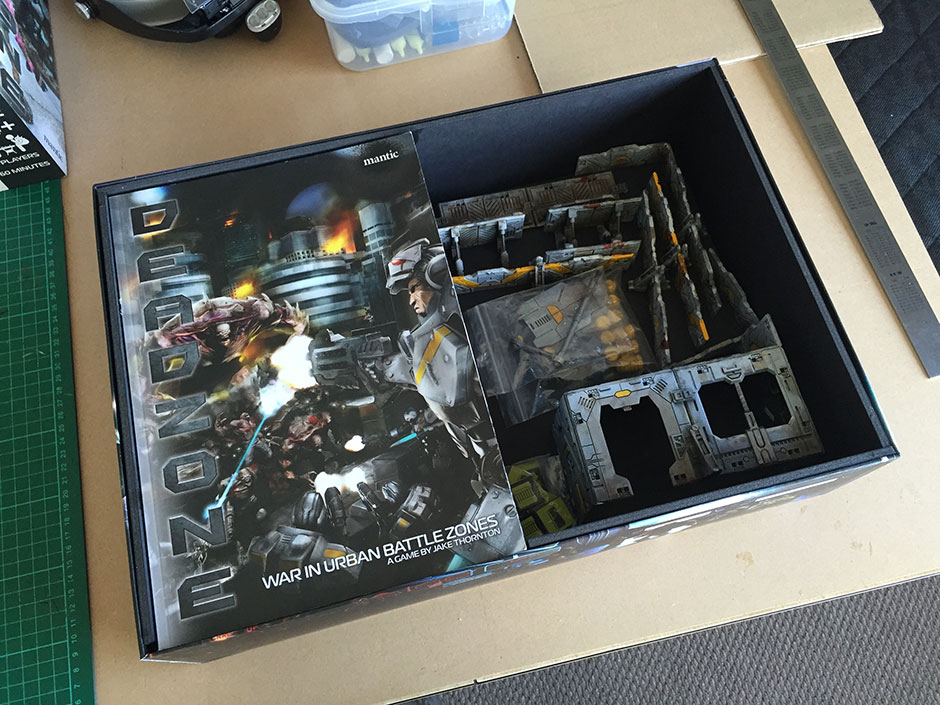
Hopefully this will give you some good ideas for packing away your Deadzone game. Stay tuned, because soon I’ll be updating my Deadzone summary sheets, with the addition of a carefully designed visual reference sheet that I think should make the sometimes fiddly process of rolling your action tests a lot faster and easier. That’s coming up soon!
Very nice! My doods/counters/crates/dice are all in a tackle box thing with the box holding the terrain, rules and decks. Yours looks much neater!
Whatever works! 🙂
*Googly eyes* They are soooo beautiful. I really struggled to fit everything in to the starter box, and I don’t think it can be done.
I haven’t checked, but it probably can’t fit even when just all the terrain in the core set is built.
Magnetic rubber? What wonders will you find next? Ingenious!